
Resolving Merge Conflicts in Git
Step-by-step guide to resolving annoying merge conflicts.
Resolving Git Merge Conflicts - Step-by-Step
Nothing is more time-consuming and frustrating than pushing up your code in Visual Studio just to see this:

Git is great to use when collaborating on projects, however, conflicts can arise when two or more developers modify the same file simultaneously. In such cases, Git cannot automatically merge the changes and requires a human decision. This is known as a merge conflict. In this blog post, we’ll take a look at how to resolve merge conflicts in Git.
Step 1: Identify the Conflict
The first step in resolving a merge conflict is to identify the file that has the conflict.
Often, when pushing up code directly through an editor like Visual Studio, the git conflict automatically shows up. If this is the case for you, move on to step 2.
If coding in the terminal, you can check for a conflict by using the “git status” command. If you see a message like “both modified: file.py,” this means that there is a conflict in the file “file.py.”

Step 2: Open the Conflicted File
If coding in the terminal, an editor should automatically open based on the default editor you set when installing git.
Once in the editor, click on the file under “Merge Changes” in the Source Control tab.
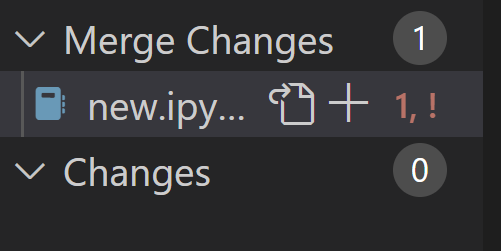
You will see the contents of the file with the conflicts marked with special symbols and often highlighted in different colors.
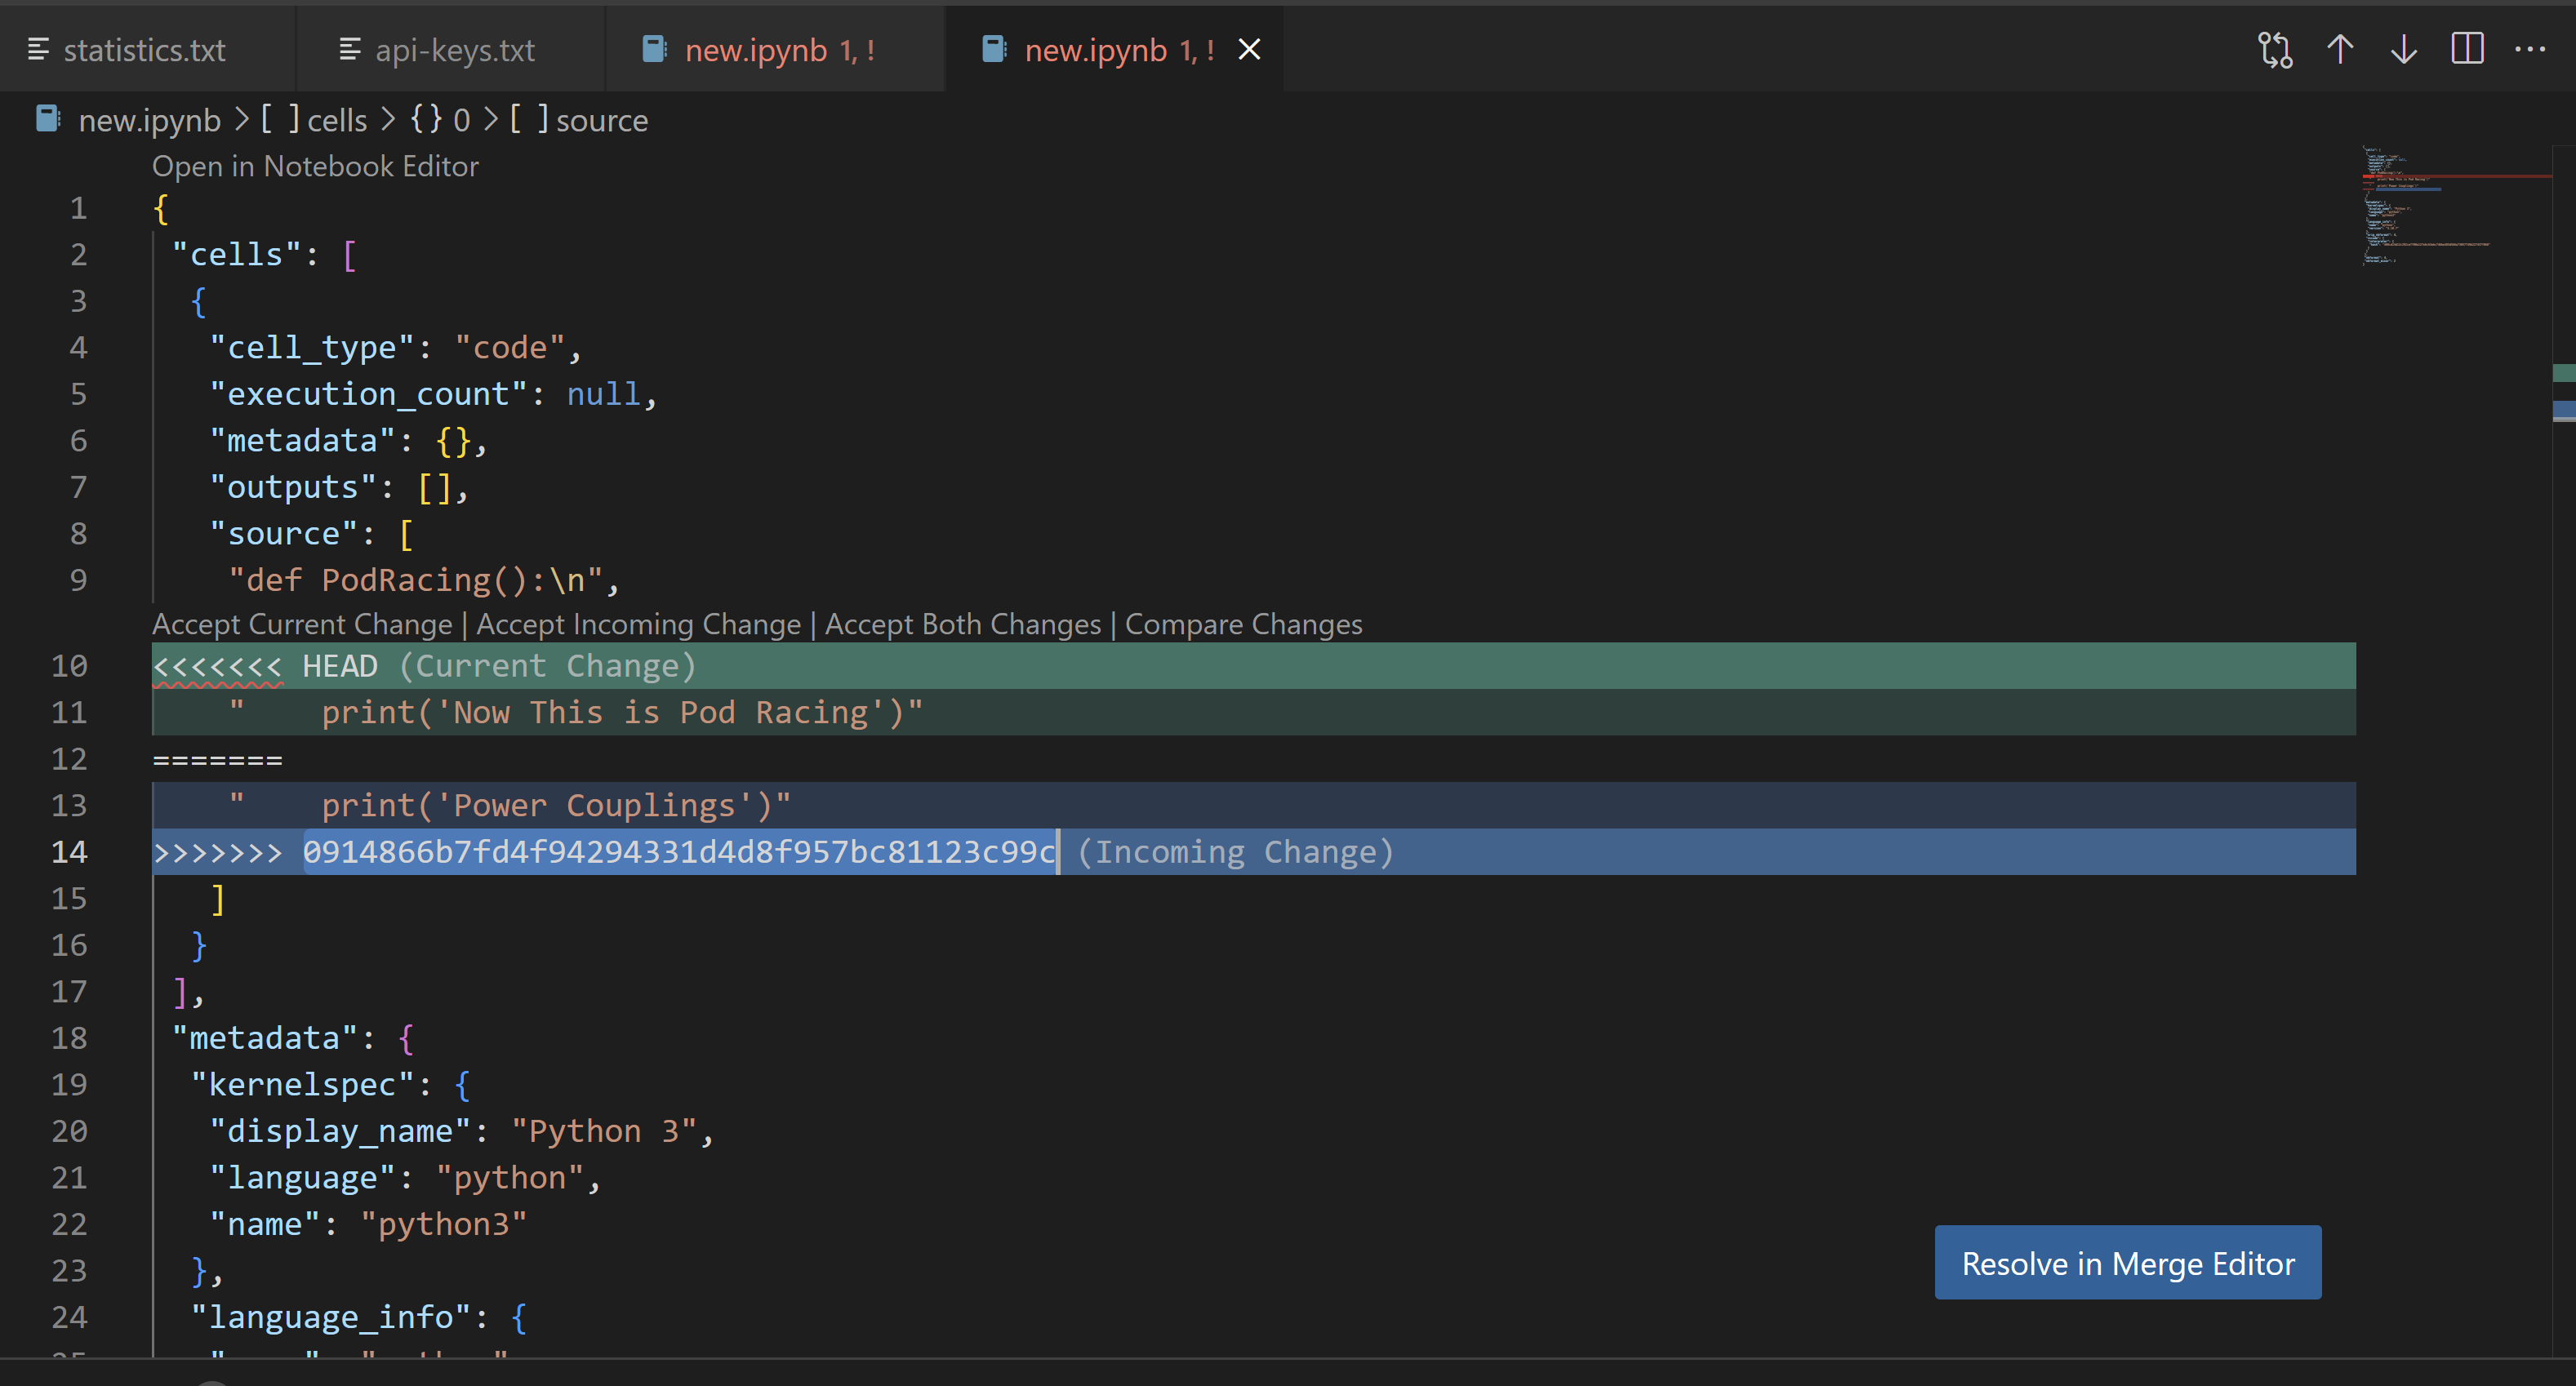
In this example, the changes from the current branch (HEAD) are marked with “«««< HEAD,” and the changes from GitHub are marked with “»»»> 0914866b7fd4f94294331d4d8f957bc81123c99c.”
Step 3: Resolve the Conflict
To resolve the conflict, you’ll need to edit the file to include only the changes that you want to keep. In this example, we could either keep the change from the current branch or the change from the other branch.
In some cases, it is possible to keep both changes, but make sure that the code still compiles and runs correctly after keeping both changes.
You can make edits to the code right here in the file.
I like to click on “Compare Changes” to see both files side by side to clearly compare them before I make any changes.

If desired, you can click on one of the options above the conflicts like “Accept Incoming” or “Accept Current”. Just make sure to proof read the code before committing and pushing.
Step 4: Commit the Resolved Conflict
If coding in the terminal: Save the file and run the “git add” command to stage the file. Then, run the “git commit” command to commit the resolved conflict. It’s important to use a descriptive commit message that explains the resolution. Finally, run the “git merge” command again to complete the merge. You should now see a message indicating that the merge was successful.
If coding in the editor: MAKE SURE that in the terminal, you run “git add.” followed by “git commit -m “message” before syncing. If you do not do this, git may think you are still trying to resolve conflicts.
Once “Sync” is pressed, your code will push up to the repository.
Conclusion
Resolving merge conflicts in Git can seem intimidating at first, but with a little practice, it becomes a straightforward process. By following the steps outlined in this blog post, you’ll be able to resolve conflicts with confidence and continue to collaborate with your team on your projects. Now get out there and resolve some conflicts!